Lab 5.1: Web App Auditing with Burp
VMs Needed
- Windows
- Ubuntu
Lab Video
Objectives
- Familiarize the student with the use of the Burp proxy for intercepting and manipulating web traffic.
- Perform simple audit functions against a single-page web application.
Lab Preparation
Boot the VMs required for the lab (see the "VMs Needed" section above) and log on to the Windows VM using the username student and the password student.
Part 1: Examine the Juice Shop Application
Background: The web application that you will be auditing in this section of the course is called "Juice Shop." It's a modern JavaScript, REST API-based application written using the Angular framework and TypesSript. You'll find as you work through the labs that while Juice Shop behaves a little differently than traditional web applications, the techniques we cover in the lecture will serve you well during your audit.
As a side note, Juice Shop is also designed to be a "capture the flag" lab. You can find the scoreboard at the relative location /#/score-board. You may notice notifications at the top of your browser window that tell you that you have solved challenges as you go about auditing the application.
Instructions:
Launch the Burp Proxy application from the desktop by clicking on the BurpProxy icon. Note: If you don't see the Burp user interface after a few seconds, check the Windows taskbar. Sometimes the application opens minimized. Simply click the purple Burp icon to restore the application interface if this happens

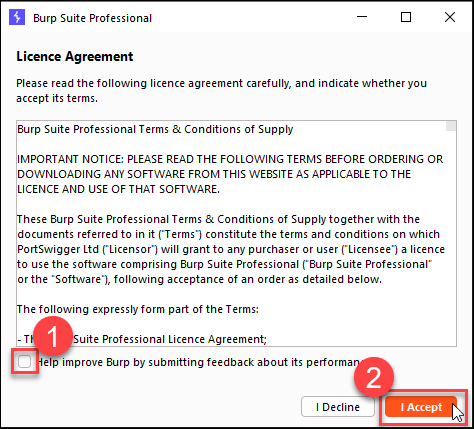
On the License Agreement screen, uncheck the box to submit performance feedback, and then click the I Accept button.
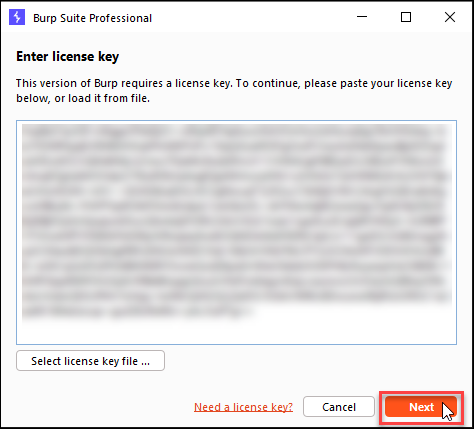
Locate the Burp PRO Trial License provided by your instructor. Copy the entire contents of the license file to your clipboard. Paste the license key into the Burp license window and click the `Next`` button to continue to the activation window. Right-clicking in the window will not work! Instead, click in the license textbox and use CTRL-V (CMD-V on a Mac) to paste the key.
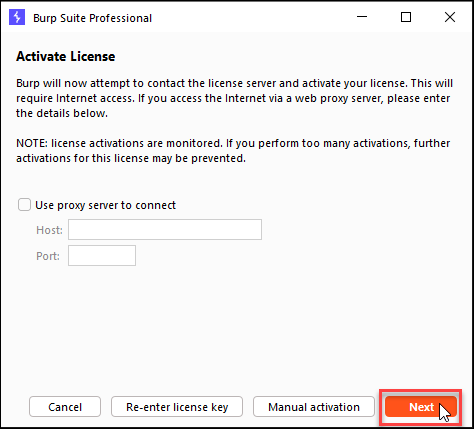
Click the `Next`` button in the activation window to activate your trial.
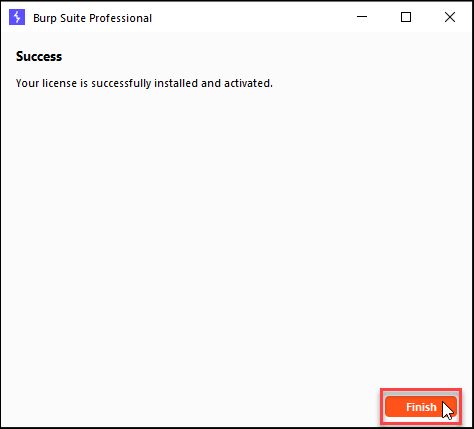
Once you receive the message below, your trial copy of Burp is activated. If you receive an error, call your instructor or TA over at a live event, or contact your SANS SME for assistance.
Click the `Finish`` button to continue starting Burp.
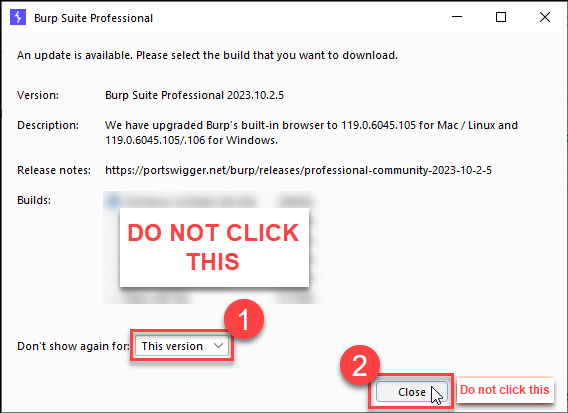
If you are prompted to update Burp, select the option to not offer to update again for this version, and click the Close button.
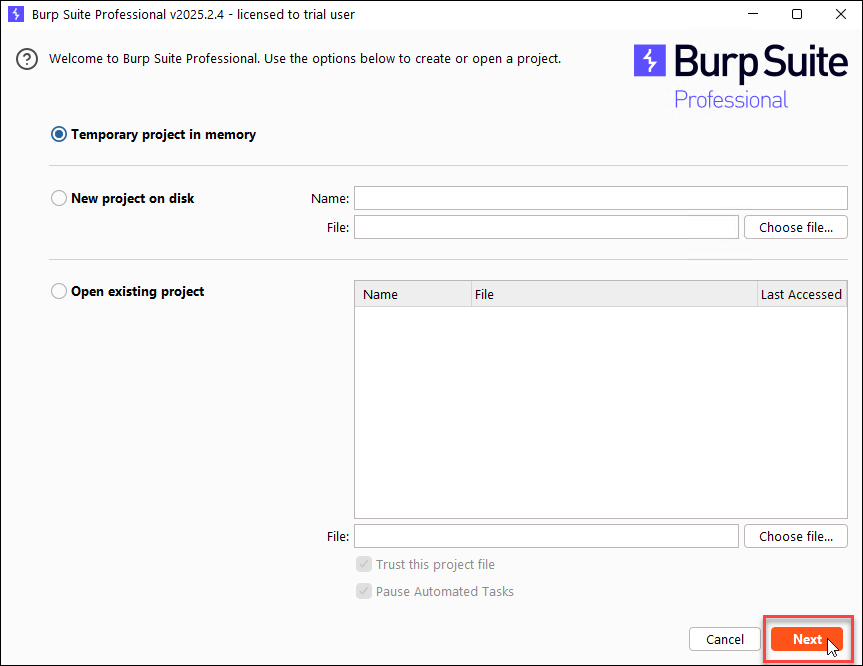
On the next Burp screen, leave the option for a temporary project selected and click the Next button.
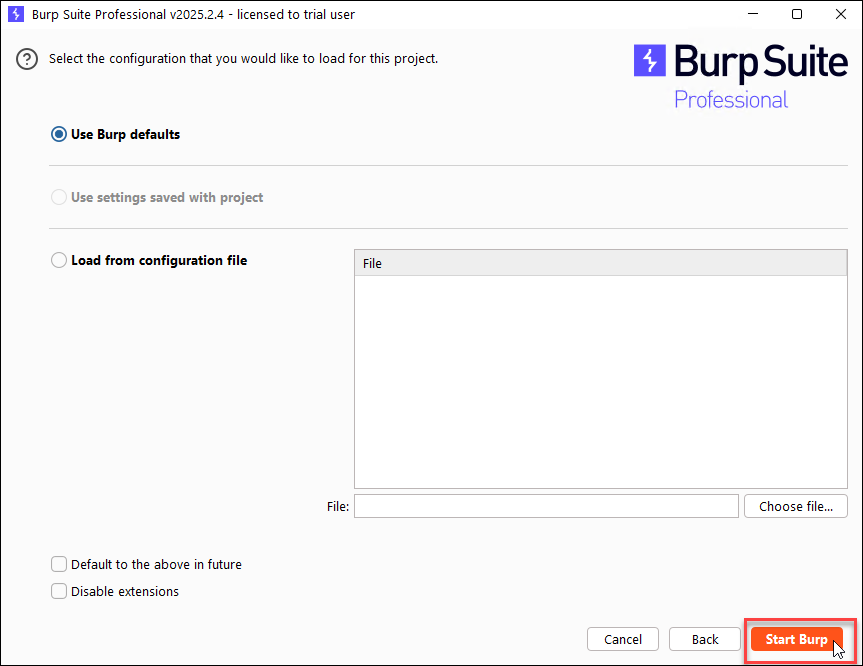
On the next screen, leave the settings unchanged and click the Start Burp button.
Leave Burp running and launch Firefox or open a new tab if it is already running.

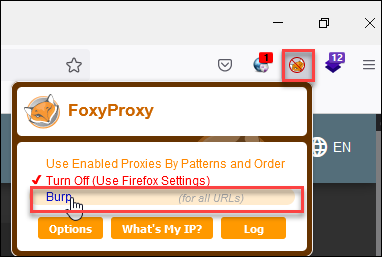
Configure Firefox to use Burp as a proxy by clicking on the FoxyProxy icon at the top right of the browser and then clicking on Burp as the proxy server. This will tell Firefox to forward all HTTP requests and responses through Burp so you can analyze or even manipulate them. Note that Burp will have a checkmark next to it when it is your default proxy. Click the FoxyProxy icon again to close the selection box.
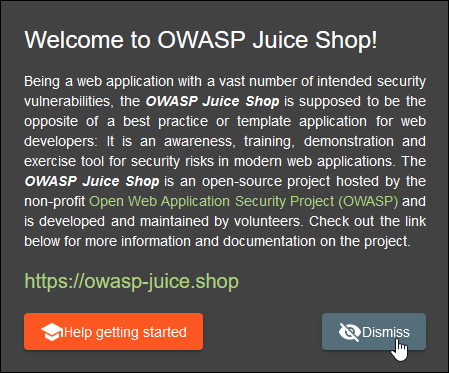
Open the application you'll be auditing by clicking the Juice Shop bookmark on the bookmarks bar. Dismiss any pop-up windows in the application.

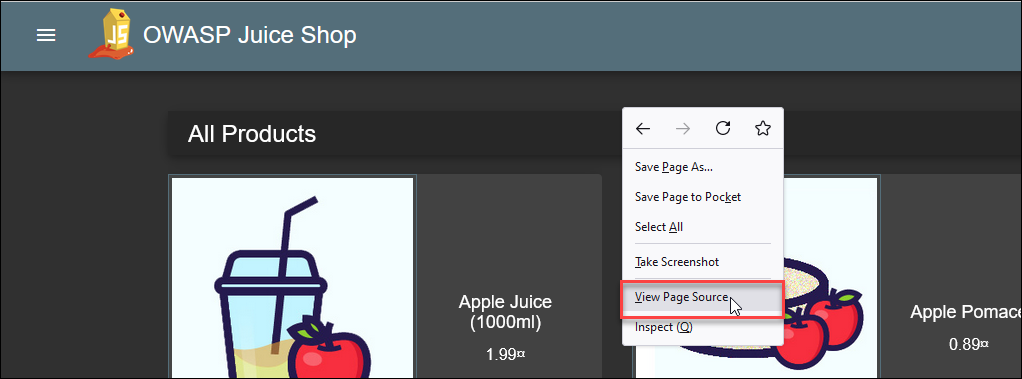
In audits of traditional web applications, we will often start by reviewing the HTML source of the front page of the application to better understand how it is architected. View the source of the Juice Shop front page by right-clicking inside an empty part of the web page and choosing the View page source item. (CTRL-U also works as a shortcut to view the page source.)
Notice that there is little to no traditional HTML on the page! Most of the work for rendering the user interface is done using the scripts being included on lines 11, 12, and 28 of the HTML source code.
The script files linked on lines 11 and 12 are externally hosted libraries which are in common use in many different web applications. They represent external code dependencies which should be considered during the audit. What if one of those public libraries has a vulnerability, or a malicious programmer inserts a backdoor into it?
The script files linked on line 28 are all locally hosted and each provides part of the user interface for Juice Shop. Open any of these local script source files you would like to examine by clicking on their link. You will notice that many of the scripts are "minified" by compressing them to one line and removing extra whitespace, making them very difficult to read! This could make a traditional analysis of the HTML source next to impossible and is the reason we will use Burp to analyze traffic rather than reading HTML code. Close the View Source tab when you have finished looking at the source code.
Full Juice Shop UI Source Code
1 2 3 4 5 6 7 8 9 10 11 12 13 14 15 16 17 18 19 20 21 22 23 24 25 26 27 28 29 30 | |
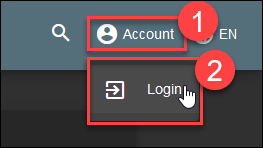
On the front page of the application, click the Account menu and then click the Login button.
See if you can determine on your own whether the login page uses GET or POST as the HTTP method for submitting the credentials. You can try inspecting the page elements (right-click and choose inspect in the context menu) or simply observing what happens in the browser when you attempt a login. Don't worry if you can't tell which method is being used; you'll get a decisive answer later with the traffic being captured by the Burp proxy.
Part 2: Use Burp to Analyze Juice Shop
Background: Most of the analysis you will do of the Juice Shop application will involve using Burp to view and possibly manipulate the traffic between your web browser and the server. In this section of the lab, you will begin using Burp as an audit tool.
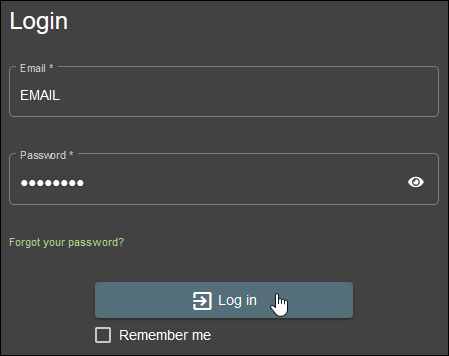
Instructions: Test the login function by entering easy-to-recognize data into each of the text boxes and then clicking the Log in button. Use EMAIL in the Email box and PASSWORD in the Password box.
EMAIL
PASSWORD
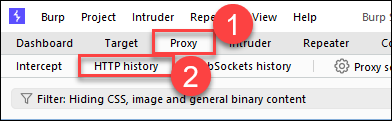
Switch back to the Burp application you opened earlier and navigate to the HTTP history window by clicking on the Proxy tab and then clicking on HTTP history.
Scroll down in the history window to find the HTTP request with a URL of /rest/user/login. You should now be able to answer the question from earlier about whether the login form uses GET or POST. Note that in the history window, the method is shown as POST. Also, note that the request and response are displayed at the bottom of the window, and the method is included in the first line of the request. The server response is 401 Unauthorized since you entered an invalid username and password!
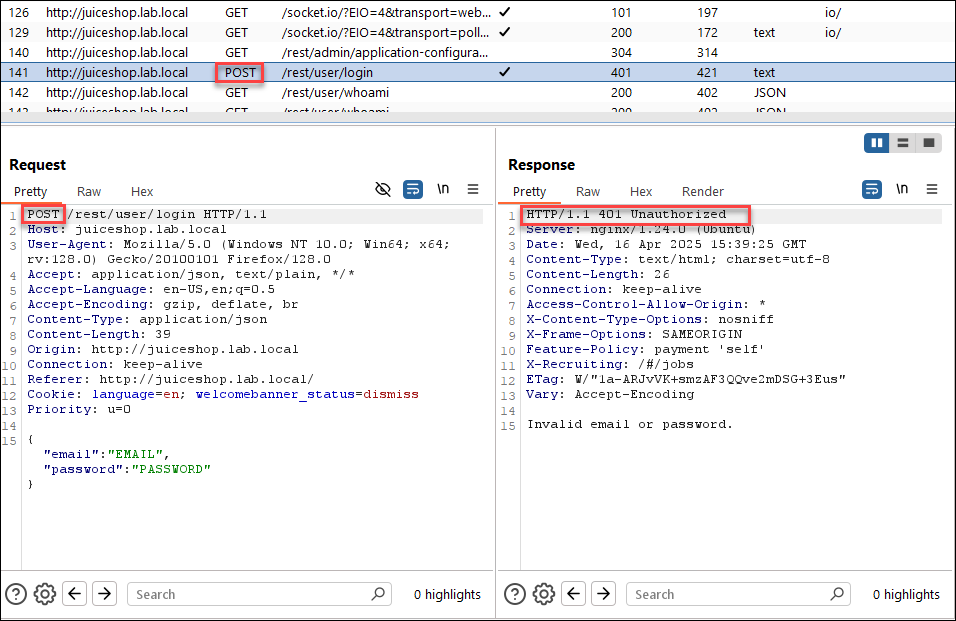
This is one of the simplest forms of analysis you will do with Burp; simply interact with the web application and use Burp to see what has happened behind the scenes!
Part 3: Use Burp Intercept to Manipulate Traffic
Background: Not only can Burp allow you to see traffic that has already passed between the browser and server; it will also allow you to actively intercept and manipulate traffic before it is passed. This is done using the "Intercept" feature of the proxy.
The Juice Shop application allows users to submit feedback through a web form. It allows ratings from 1 to 5 stars, enforced by the user interface. In this section, you will evade the constraints on user feedback scores by intercepting and changing a request before it reaches the server.
Instructions
Begin by navigating to the customer feedback form in your Firefox browser. Click on the menu in the upper left-hand corner and then click on the Customer Feedback link.

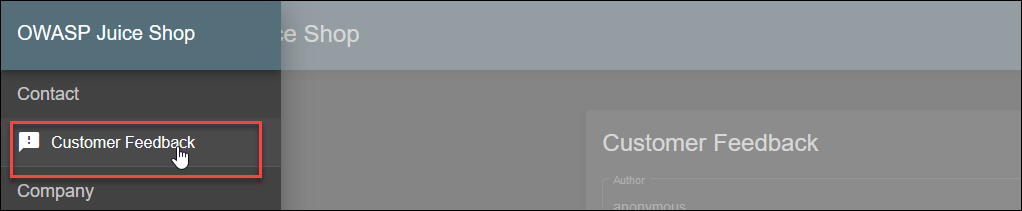
Before filling out the form, setup Burp to use the Intercept feature. The websockets traffic generated by single-page applications like Juice Shop can cause a lot of "noise" in the intercept tab, so you will begin by disabling interception of websockets traffic from the client to the server.
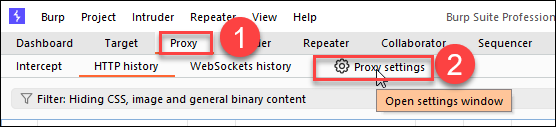
Click on the Proxy tab and then the Proxy Settings tab.
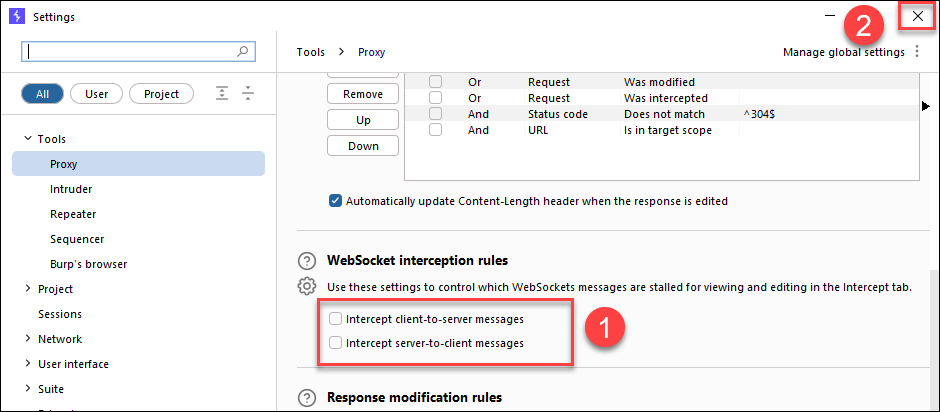
In the Settings dialog, scroll down and find the WebSocket interception rules section and click the checkboxes to unselect both settings. Close the Settings dialog box when you are finished.
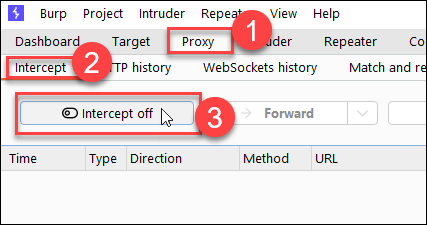
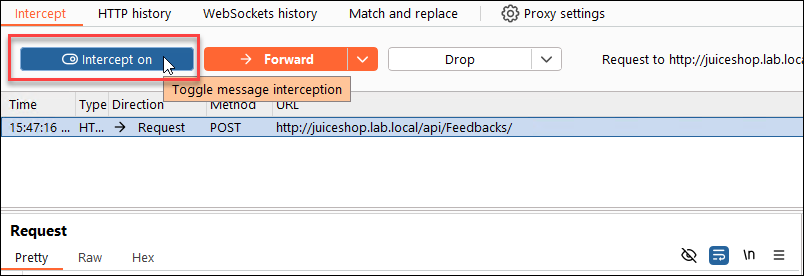
Next, click on the Intercept tab. Click the Intercept off button so that it toggles to say Intercept on. This will cause Burp to intercept all requests and responses and wait for you to edit or manually release them before continuing. Since single-page applications like Juice Shop can make a lot of requests, you will leave this feature on only long enough to try to change the feedback score and then turn it back off to allow requests to flow normally.
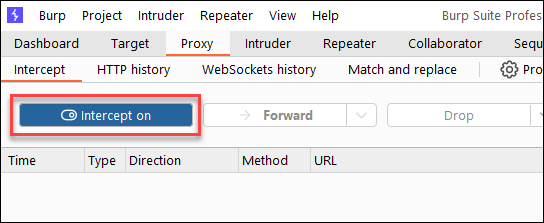
The Intercept tab should now have a blue button labeled Intercept on.
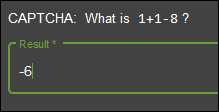
Return to the feedback form in Firefox and leave your feedback. Enter any text you want in the Comment box. Choose three stars for the rating (you'll change this in Burp in the next step), solve the Captcha (yours will likely be different than the screenshot), and then click the Submit button.
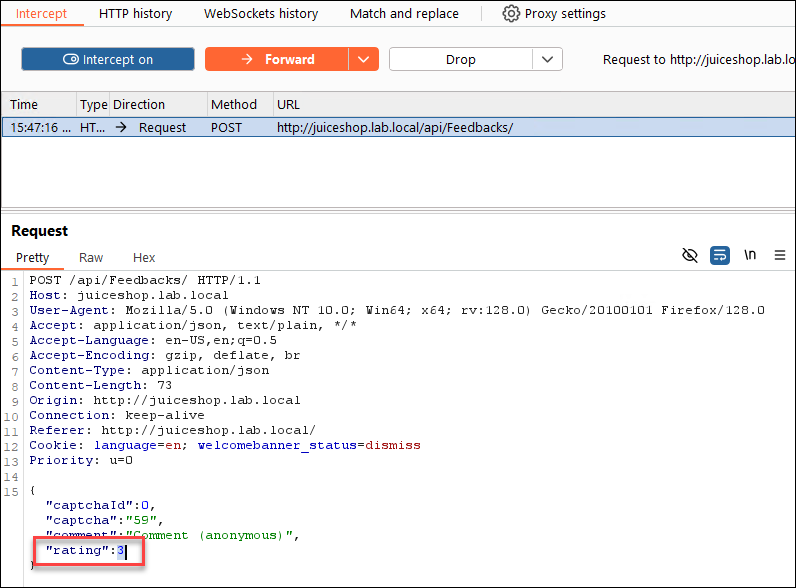
Notice that when you click Submit, the Burp icon in your toolbar will flash to get your attention. Click on Burp, and you will see that it has intercepted your request and is waiting on you to modify it, drop it, or send it on to the server unchanged.
In the Burp Intercept tab, change the rating property in the JSON object in the request body to a zero instead of 3.
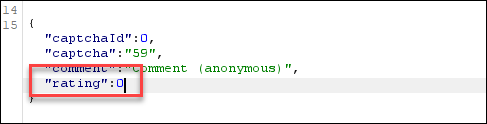
After making the change, click the Forward button at the top of the tab.
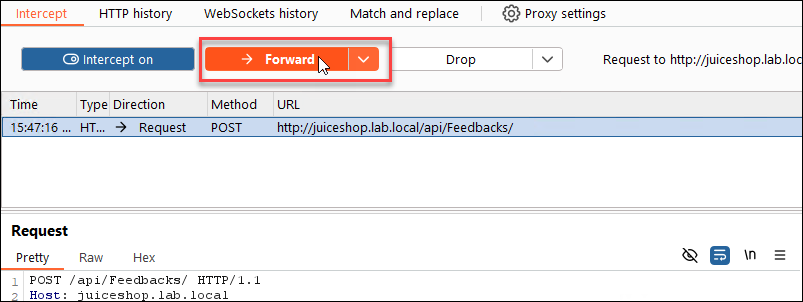
Then, turn off Intercept mode to stop Burp from making you review each new request. The button should read Intercept is off after you click it. Any pending requests will be flushed to the server once you change the setting.
Return to the HTTP history tab in Burp by clicking on the Proxy tab and then the HTTP history tab.
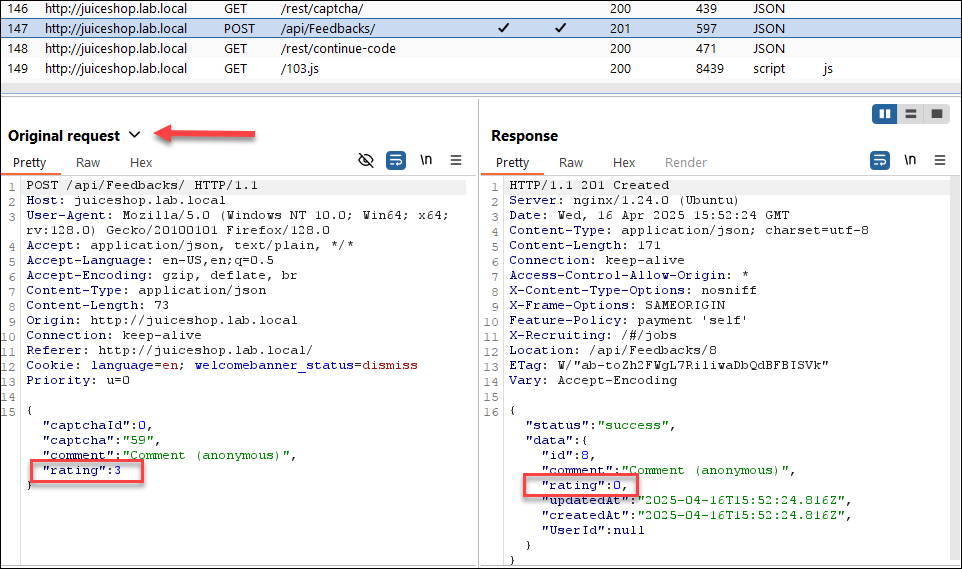
Locate and click on the POST request that you just modified. It will have a URL of /api/Feedbacks. At the bottom of the Burp interface, look at the Original request and Response tabs. Notice that the original request shows a rating of 3, and the response (which was made to the edited request) shows a rating of zero. Also, notice the drop-down menu next to the heading of the Original request pane. If you click on it, you can see the request as you edited it.
Part 4: Use Burp Repeater to Manipulate Traffic
Background: Burp's Intercept mode is useful for "one-off" testing of web application features and API endpoints. More in-depth analysis will often require multiple copies of a request being sent with different settings, a technique broadly known as fuzzing. This can be done at scale using Burp's fuzzing feature, called Intruder. Semi-manual fuzzing can be done with Burp Repeater. In this section of the lab, you will use Repeater to continue your test of the customer feedback feature.
Testing for business logic flaws often involves "bounds checking," in which the tester verifies whether values are limited to acceptable ranges. The user interface of Juice Shop limits feedback to the range of one to five stars, but you've already found that it will accept zero as an API input. Next, you will verify whether other values are allowed.
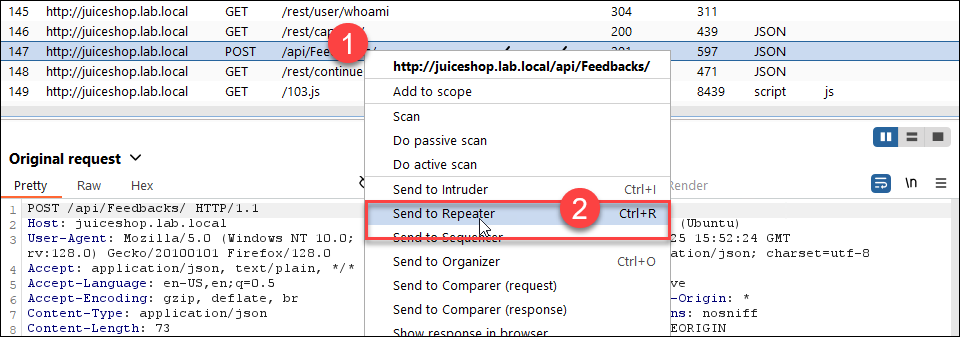
Instructions Locate in the HTTP history tab the POST request to /api/Feedbacks. You may still have it highlighted from the previous part of the lab. Right-click the request and select Send to Repeater in the context menu. You may notice that the Repeater tab briefly changes color after you click the menu option, notifying you that Repeater has received a copy of the request.
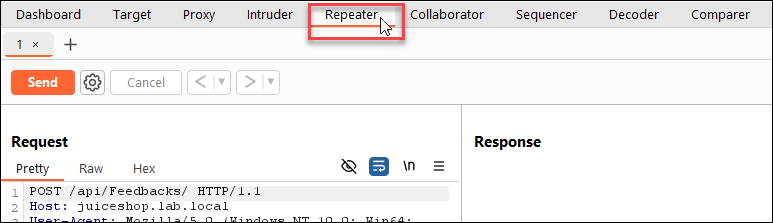
Next, open Repeater by clicking on the Repeater tab in Burp. Repeater will allow you to manually edit the request, as you did earlier in Intercept mode, and then send it on. The difference is that you can edit and send it as many times as you would like!
Test whether the API allows for negative scores by editing the JSON rating property in the request body to have a rating value of -1. After changing the value, click on the Send button at the top of the screen.
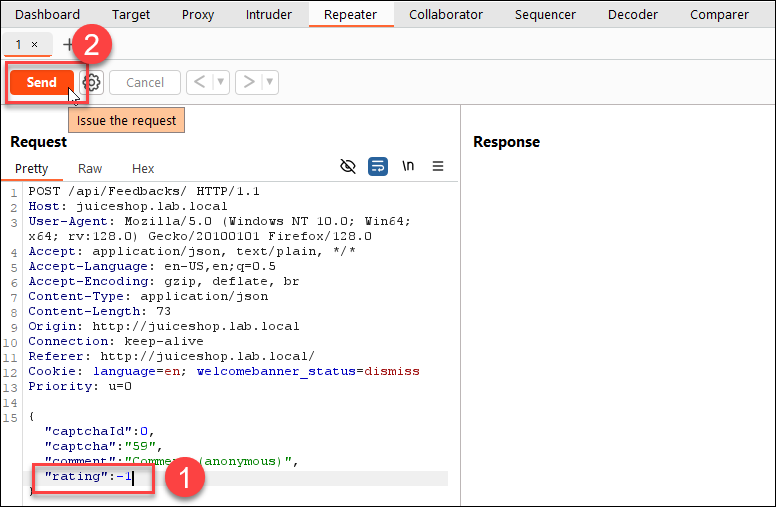
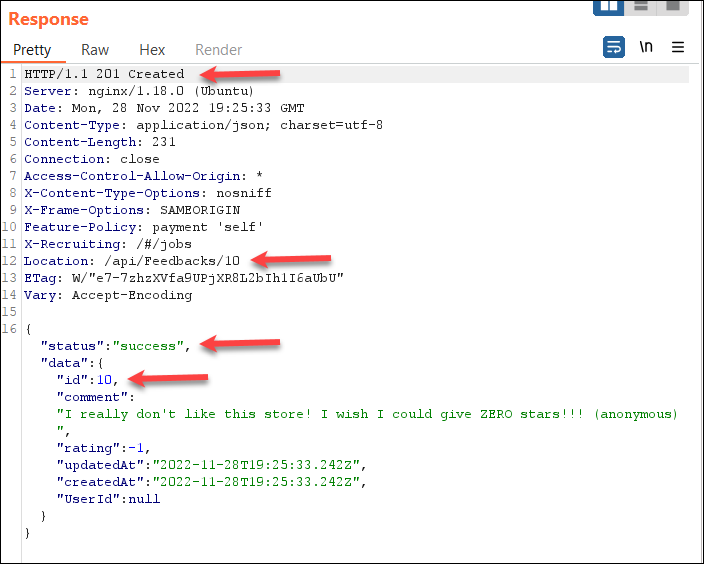
Look at the Response section after sending the request. The server returns an HTTP 201 response code, indicating that a new feedback object was created. It has assigned an ID number to the feedback record (your ID number may be different than the screenshot, but you should see it increment for successful requests). It also shows a status of success in the returned JSON data. This would indicate a violation of the business requirement to allow only the accepted range of values.
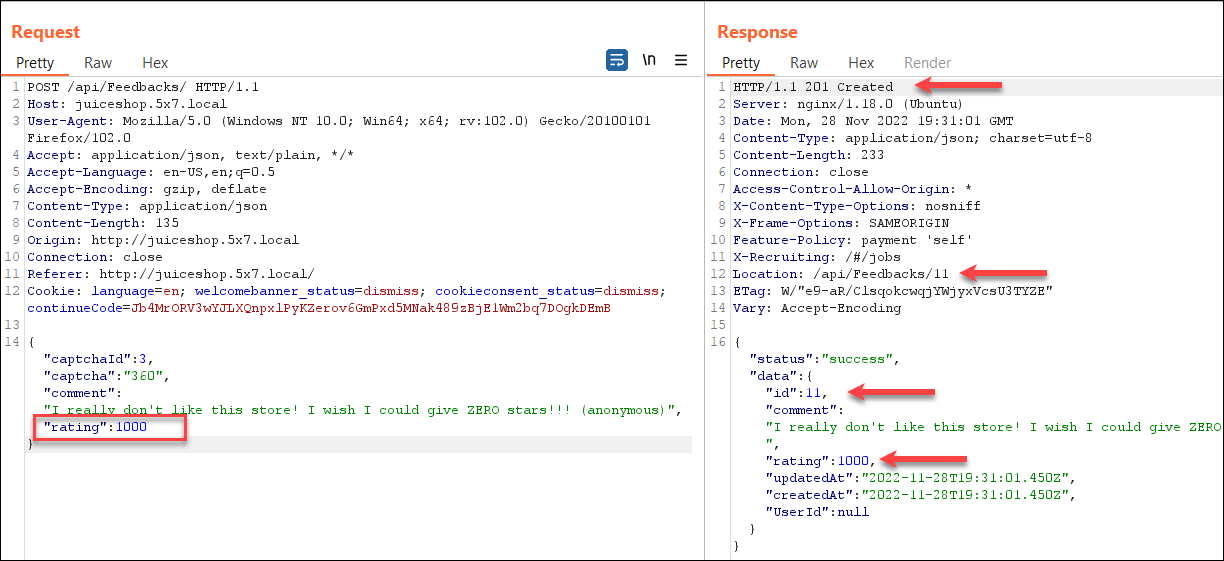
Next, try editing the request to try a positive value outside the intended range. Change the rating value to 1000 and click Send again. Looking at the same response values as before, it appears that this request was also successful.
Finally, test to see if nonnumerical data will be accepted. Change the rating value to "XXXX" (include the quotation marks to keep the JSON data valid) and submit again to view the response.
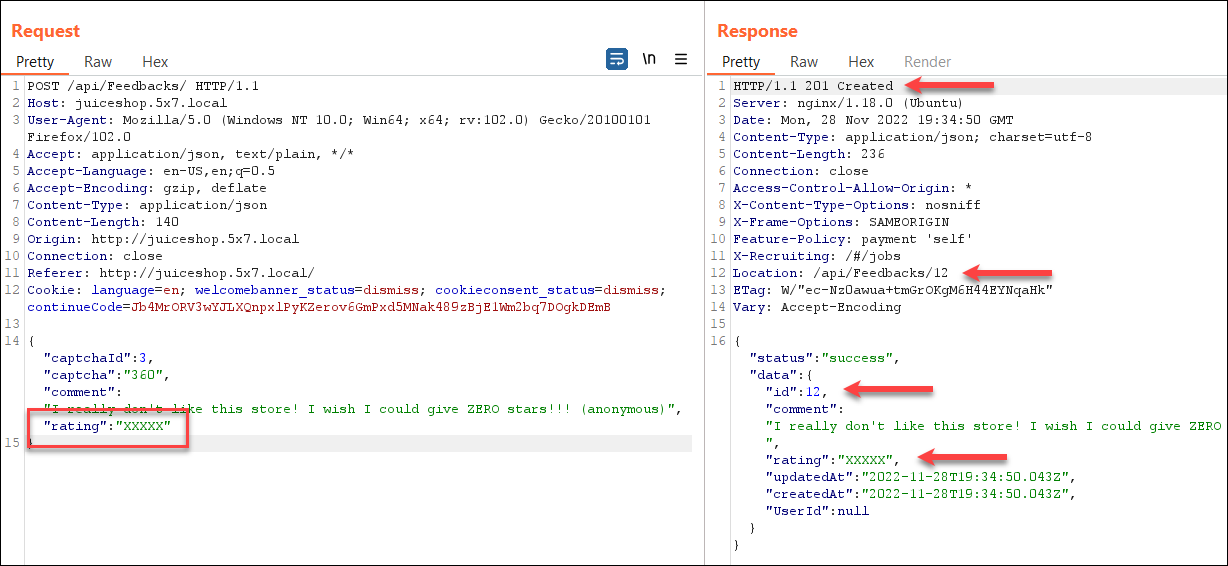
Once again, it appears that the input was accepted! We should include findings related to the absence of bounds checking in our audit report. Feel free to try other values for rating or for the other request body values to see if you can find other issues.
Leave Burp and Firefox running for the next labs.